

Celebrating 15 years of Minecraft

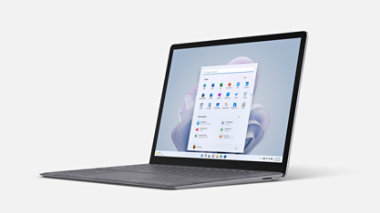
Save up to $600 on Surface Laptop 5
Sophisticated style and multitasking speed powered by 12th Gen Intel® Core. Offer ends 6/30.
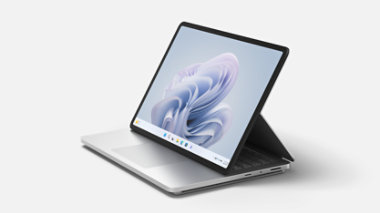
Save up to $500 on Surface Laptop Studio 2
Cutting-edge design meets incredible performance in this versatile laptop for creativity and entertainment. Select devices on sale now. Offer ends 5/23.
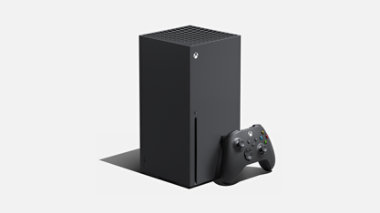
Xbox Series X
The fastest, most powerful Xbox ever.
Maximize the everyday with Microsoft 365
Get online protection, secure cloud storage, and innovative apps designed to fit your needs—all in one plan.

Unlock your potential with Microsoft Copilot
For business

Surface Pro 10 for Business
Tablet flexibility and laptop performance in an ultraportable design with the latest Intel processors and AI-powered tools.

Join the era of AI
Create, communicate, and code with the latest Microsoft AI solutions.

Get Microsoft Teams for free
Online meetings, chat, and shared cloud storage—all in one place.
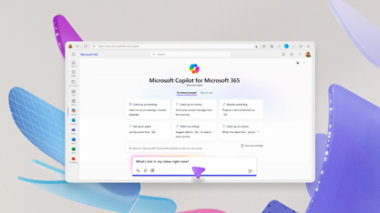
Copilot for Microsoft 365
Save time and focus on the things that matter most with AI in Microsoft 365 for business.