
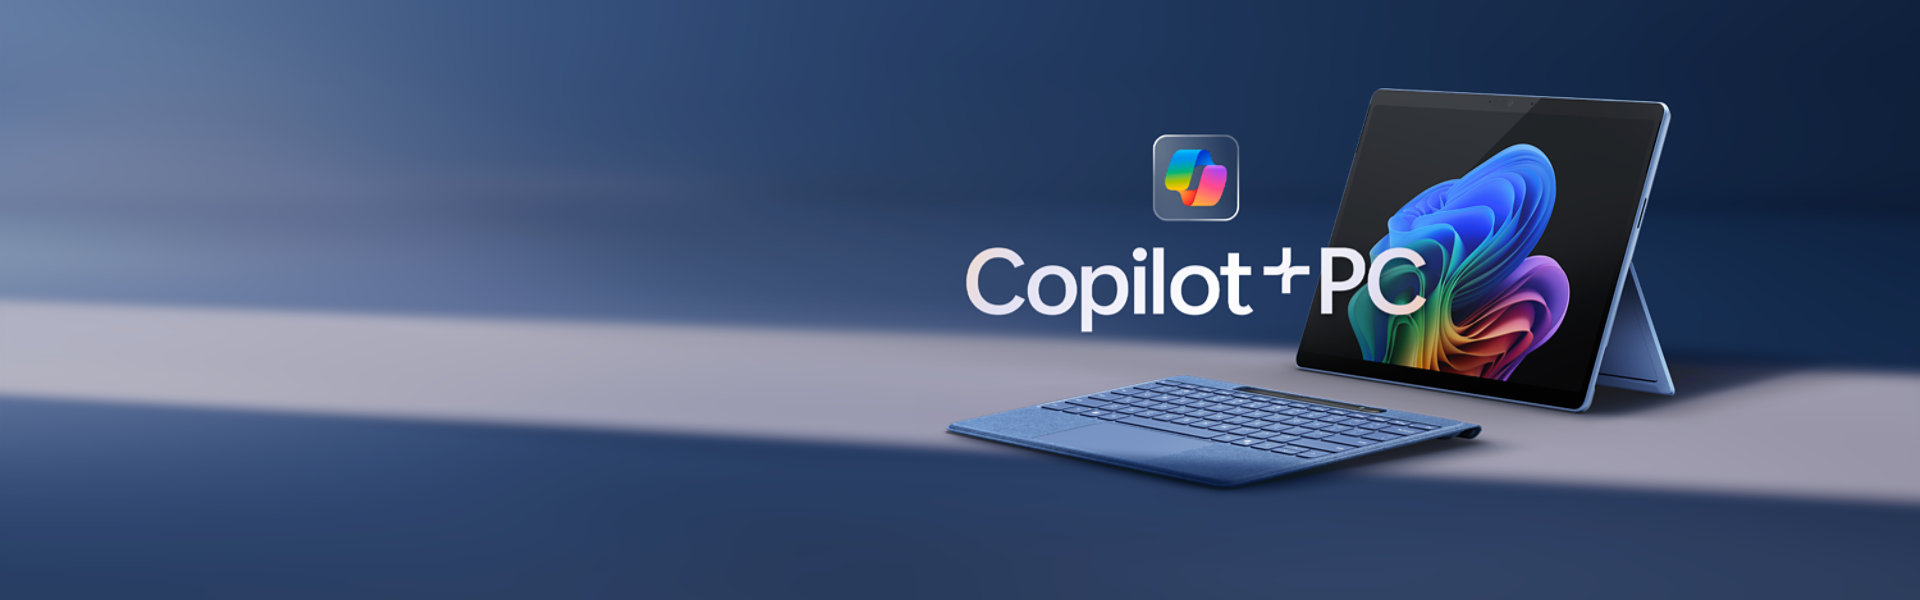
Meet Surface Pro

Maximize the everyday with Microsoft 365
Get online protection, secure cloud storage, and innovative apps designed to fit your needs—all in one plan.
Unlock your potential with Microsoft Copilot
Get things done faster and unleash your creativity with the power of AI anywhere you go.
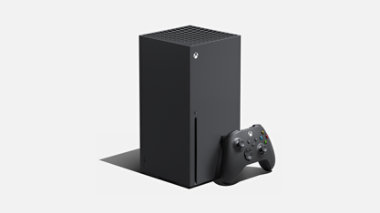
Xbox Series X
The fastest, most powerful Xbox ever.
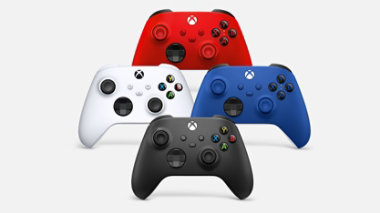
Xbox controllers
Elite, wireless, adaptive—find the controller that fits your style of play.
Meet Surface Laptop
For business

Surface Laptop 6 for Business
Get exceptional power, better performance, and AI-powered tools all in a 13.5-inch or 15-inch design.

Copilot+ PCs for Business
Surface Pro for Business and Surface Laptop for Business unlock new AI-accelerated features like Recall and Windows Studio Effects.

Work faster and smarter with Copilot
Copilot for Microsoft 365 can help your team streamline, automate, and unlock innovation so everyone can accomplish more every day.

Get Microsoft Teams for your business
Online meetings, chat, real-time collaboration, and shared cloud storage—all in one place.
Explore more about AI and Copilot

10 (more) AI terms everyone should know
We break down another round of popular AI buzzwords, so you can get up to speed and talk tech like a pro.

Get the most out of Microsoft Copilot
Learn how to get better AI answers with ASK: a three-step formula for acing your prompts.

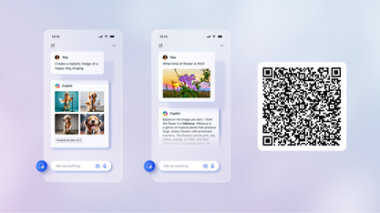
Do more on the go with Copilot
Travel planning, recipe hunting, bargain shopping—you name the task, the Copilot app can help you do it anytime, anywhere with the power of AI.


Follow Microsoft