This is the Trace Id: 52ef1192029876ee776185fc72c21d08
Skip to main content
Windows
Windows 11 simulated screens of Snipping Tool's Perfect Screenshot shown over a 4-screen flow

February 26, 2026

How to use Snipping Tool on Windows 11: Screenshots, shortcuts, and screen recording

Picture this: you’re in the middle of a video call, and your colleague shares a critical data chart or a brilliant slide on their screen.

If you use a Windows PC, you already have one of the simplest, most reliable tools for capturing that critical chart or brilliant slide. Snipping Tool has been part of Windows for years, and in Windows 11 it’s better than ever — cleaner design, smarter shortcuts, and even built‑in screen recording. No extra downloads, no complicated setup. Just a familiar Windows utility that quietly does exactly what you need.

Whether you’re saving a receipt, documenting a bug, grabbing a meme, or recording a quick how‑to video, Snipping Tool gives you everything in one place.

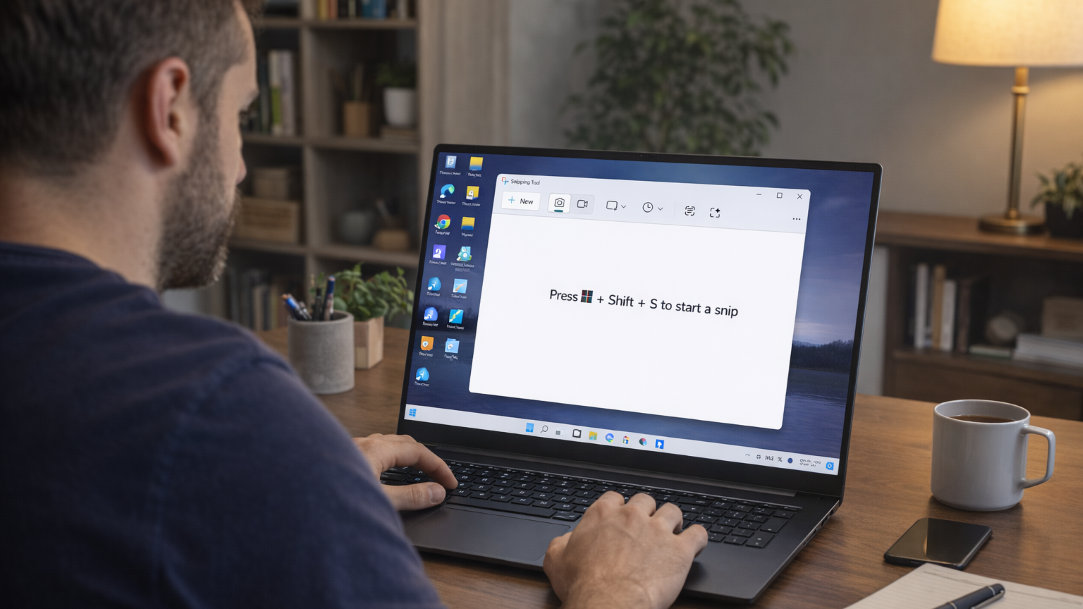
How to open Windows Snipping Tool

The beauty of Snipping Tool is that it’s never more than a couple of keystrokes away:

  • Keyboard shortcut:
    • Press Windows logo key + Shift + S to open the snipping tool overlay to capture an image snapshot.
    • Press Windows logo key + Shift + R to open the snipping tool overlay to capture a video clip.
  • Search: Tap the Windows logo key and type “Snipping Tool.”
  • Taskbar: Once you open Snipping Tool, right-click the icon in the Windows taskbar and select Pin to taskbar. By pinning the Snipping Tool to the taskbar, capturing your screen becomes only one click away, regardless of what apps you have running.

Snip shortcuts: the fastest way to create a screen capture

The magic combo is Windows logo key + Shift + S and Windows logo key + Shift + R. The moment you press these keyboard combinations, your screen dims, and a small toolbar appears at the top of the screen. Keyboard shortcuts allow you to capture an image snapshot or a video clip instantly without breaking your focus. Once you’ve selected the capture area, the snip is automatically saved to your clipboard and is ready to be pasted into an email or Teams message. You can also edit the image further.

Screenshot on Windows: Capture modes explained

Snipping Tool gives you four capture modes, each designed for different purposes:

  • Rectangle: The most common option. Drag a box around exactly what you want — perfect for grabbing part of a webpage or a section of a document.
  • Freeform: Draw any shape you want. Great for highlighting irregular areas or creating more playful captures.
  • Window: Click any open window to capture it cleanly. Ideal for screenshots of apps, dialog boxes, or browser windows.
  • Full‑Screen: Captures your entire display. Useful for multi-step tutorials or when you need everything visible at once.

Smarter captures

Windows 11 gives Snipping Tool extra smarts with AI-powered features:

  • Extract and Copy Text: After taking a screenshot, click Text Actions. The tool will highlight all the text it finds, allowing you to copy it directly into a document.
  • Quick Redact: Need to share a screenshot but want to hide your email or phone number? The tool can automatically detect sensitive info and black it out for you1.
  • QR Code Integration: If your screenshot contains a QR code, the tool will recognize it and offer to open the link for you—no phone required.
  • Perfect screenshot: Snipping Tool automatically adjusts the capture area to tightly frame on-screen content, reducing the need for post-capture cropping.
  • Color picker: You can capture exact color values from anywhere on the screen.

Editing and marking up your snips

Once you’ve taken a screenshot, the Snipping Tool opens an editor that’s surprisingly capable for a built‑in app. 

You can:

  • Crop to focus on the important part
  • Use the pen, highlighter, or touch writing tools to annotate
  • Add shapes like rectangles or arrows
  • Save, copy, or share your snip directly

Once you’re done, you can save the file as a PNG or JPG or simply hit Ctrl + C to copy your snip and paste it wherever it needs to go.

Create recordings on Windows with Snipping Tool video capture

A still image isn't always enough to explain a complex process. The Snipping Tool video capture feature allows you to create high-quality screen recordings on Windows without installing third-party apps.

How to capture video:

  1. Open the tool and toggle from Snip to Record.
  2. Select the specific portion of your screen you want to record.
  3. Select Start. You can even toggle your microphone to add a voiceover—perfect for quick demos.
  4. Select Stop, and your video is automatically saved to your "Screen Recordings" folder.
An adult male learns the keys that activate the Snipping Tool in Windows

AI Art Created by Copilot

Tips to get the most out of Snipping Tool

Simple tips can make the tool feel even more powerful:

  • Pair the snip shortcut with quick edits for rapid workflows
  • Use screen recording instead of installing third‑party apps
  • Keep your screenshots organized in folders for work or school
  • Pin the app to your taskbar for one‑click access

Snipping Tool vs. other screenshot options

Plenty of screenshot apps are available in the market, and for most people, Snipping Tool offers what they need. Why?

  • It’s free
  • It’s built in
  • It’s fast
  • It includes video recording
  • It integrates with Windows 11

If you need advanced editing or long scrolling captures, a third‑party tool might help. But for everyday use, Snipping Tool hits the sweet spot.

Capture more, faster, with Windows

Snipping Tool is one of those quiet Windows 11 features that becomes indispensable once you start using it. Screenshots, shortcuts, and screen recording — all built in, all easy, all ready when you are. See it, snip it, and share it. If it’s on your screen, you can capture it with Snipping Tool.

Frequently asked questions

  • Yes. Snipping Tool is built into Windows 11 and included at no extra cost. You don’t need to install anything or create an account to use it.
    • Press Windows logo key + Shift + S to capture a screenshot.
    • Press Windows logo key + Shift + R to start a screen recording.
    • Screenshots are copied to your clipboard and saved in Pictures > Screenshots (if auto-save is enabled).
    • Screen recordings are saved in Videos > Screen Recordings.
  • Yes. When recording your screen, you can toggle your microphone on to capture voice audio for tutorials or demos.
  • Yes. You can select content from any connected display, window, or portion of your screen.
  • Yes. Snipping Tool includes built-in markup tools such as pens, highlighters, shapes, cropping, and text extraction.
  • After capturing, select Text Actions to automatically detect and copy text from the image.
  • Not natively. For long scrolling pages, you’ll need a third-party screenshot tool.
  • Yes. Snipping Tool in Windows 11 combines the old Snipping Tool and Snip & Sketch into one app.
  • Make sure Snipping Tool is enabled in Settings > Accessibility > Keyboard, and that another app isn’t overriding the shortcut.

Mentioned in this article

Windows 11 bloom

Shop Copilot+ PCs

Windows 11 bloom

Benefits of Windows 11

Windows 11 bloom

Find the Windows PC that's right for you

You may also like

Copilot+ PCs for productivity and play

Copilot+ PCs for productivity and play

See how Copilot+ PCs use built-in AI to boost creativity, gaming, and multitasking.
Two Surface devices, one showing the Copilot bloom

Why a Microsoft Surface is the best Copilot+ PC experience

Learn the advantages of Surface Copilot+ PCs and how Copilot+ PCs differ from other computers.
A video showing the gaming features of Copilot+ PCs

Do Copilot+ PCs offer the best setup for gaming?

Power, personalization, and play-anywhere freedom lets you explore the next frontier of gaming.